I have lots of patterned paper - nicely stored in my drawers... But anytime I decide to make a card or some other project, I almost always create my own patterned paper.
I love making backgrounds. I will be showing you two of my go-to techniques for very simple backgrounds.
Background #1 - Using Distress Paints
First, I randomly added some washi tapes on a piece of cardstock. Then I glued down bits of the patterned tissue paper using a multi medium.
I chose Distress paints in this yellow-orange-red palette.
I applied the paints all over the paper and sprayed it with water and helped it a bit to mix.
I left it to air-dry. I don't like to use a heat gun on washi tapes - some might not be the "original" rice paper and could distort with heat. Also, some multi media might bubble. So, I just wait patiently.
Then I added a bit of stamping.
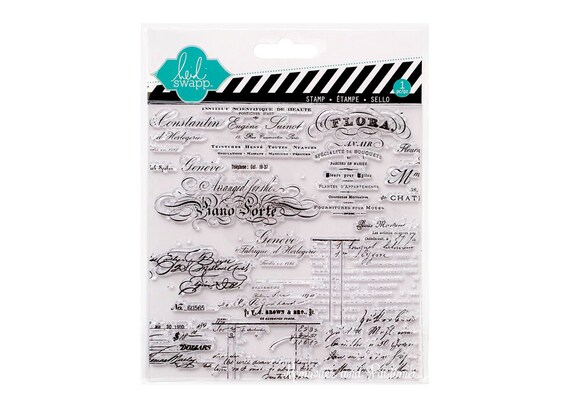
I used this awesome background stamp by Heidi Swapp - it's called Script and it has a lot of different types of scrip on it and is ideal for adding some interesting accents to your background.

Finally, I added a bit of yellow and red drippage to tone it all down a bit.
Background #2 - Using Sprays
The first steps are the same - glue down washi tapes and tissue paper. We'll be using (and removing) inks, so it's important, that the paper is sealed by some multi medium. Then I applied a bit of gesso - just a light coat.
This time, I chose a blueish palette. I also like to use one or two sprays with shimmer to add a little bit of sparkle.
So, you spray the paper and wait for it to dry.
Then, you take a stencil and a baby wipe and start to remove the ink through the stencil.
When you lift the stencil, magic happens.
If you want to work further with this particular background, you should spray it with some fixative to prevent the inks from re-activating.
And now you can either store your background for future projects or just start creating right away.
I hope you got inspired by these two (simple) techniques.


No comments:
Post a Comment