
I begin with ordinary thin paper – this one is used for snack packaging. I found it by accident when I was looking for tissue paper and - not being able to get it anywhere (would you believe it? tissue paper?) - I had to look for alternatives. This one is not as thin as tissue paper, so it doesn't tear (much) when I spray it with water. So it is actually much better...


Or - if you dare - you can run it through your inkjet printer.
[Disclaimer: Your printer manufacturer advises you not to use crumpled paper. So, do this at your own risk. If your printer breaks, you don't know me, never heard of me.]
I glue the thin paper down on a regular printer paper with repositionable glue paying extra attention to the edge that goes into the printer first. Approx. one in every five prints jams the printer, so I don't do this very often… [and BTW – don't try it on laser printers!!]

I use the paper as background in my journal or on my cards - even on my canvases.

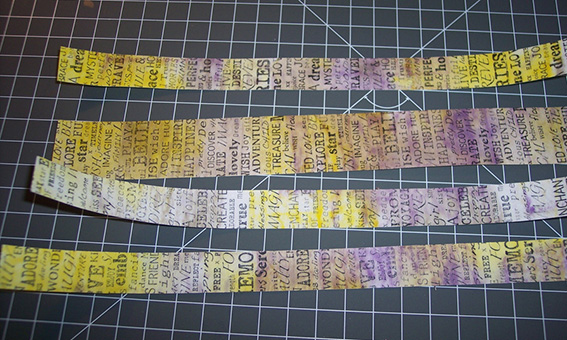
Or I make my own Washi tapes.


Attach your double-sided tape to the back of the paper.

Cut along the edges of the tape.
Once you start, it's very hard to stop... The possibilities are endless.

No comments:
Post a Comment